Understanding Washing Machine Drum Issues
Washing machine drums are sturdy components designed to withstand regular use. However, they can still face issues such as leaks, excessive noise, or failure to spin. Understanding these problems is crucial for effective troubleshooting. Let’s delve into some common drum problems that you might encounter.
Identifying Common Drum Problems
Identifying the specific issue with your washing machine drum is the first step toward finding a solution. Some common problems include misalignment, worn-out bearings, or a broken belt. If you notice any unusual sounds or leaks during operation, it’s essential to pinpoint the root cause of the problem before proceeding with repairs.
Tools Needed for Drum Repair
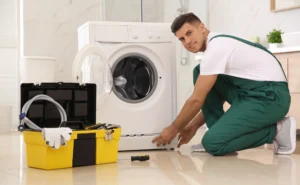
Before you start the repair process, make sure you have the necessary tools at hand. These tools may include wrenches, screwdrivers, pliers, and replacement parts such as belts or bearings. Having the right tools ready can save you time and prevent unnecessary delays during the repair.
DIY Steps for Fixing a Washing Machine Drum
Repairing a washing machine drum might seem like a daunting task, but with the right approach, it can be manageable. Here’s a step-by-step guide to help you fix your washing machine drum on your own.
Step 1: Diagnosing the Issue
The first step is to diagnose the problem accurately. Check for leaks, unusual noises, or any visible damage. Once you have a clear understanding of the issue, you can proceed with the necessary repairs.
Step 2: Preparing the Washing Machine for Repair
Preparing your washing machine for repair involves disconnecting the power supply and water source. It’s crucial to ensure your safety and prevent any accidents during the repair process.
Step 3: Removing and Replacing Damaged Parts
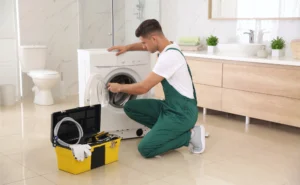
Carefully disassemble the washing machine to access the drum. Inspect the components and replace any damaged parts with suitable replacements. Make sure to follow the manufacturer’s guidelines and use the correct parts for your specific model.
Step 4: Testing the Repaired Drum
After replacing the damaged parts, reassemble the washing machine and conduct a test run. Listen for any unusual sounds and check for leaks or other issues. If everything seems to be in working order, you’ve successfully repaired your washing machine drum.
When to Seek Professional Help
While DIY repairs can be cost-effective, some drum issues may require professional expertise. It’s essential to recognize when it’s time to seek professional help to avoid further damage to your washing machine.
Recognizing Complex Drum Issues
Certain drum problems, such as motor or electronic malfunctions, might require specialized knowledge and tools. If you’re unsure about how to handle these complex issues, it’s best to consult a professional repair service.
Benefits of Hiring a Professional Repair Service
Professional repair services have the expertise and experience to handle complex washing machine drum issues efficiently. They can provide a thorough diagnosis and offer long-term solutions, ensuring your washing machine repair functions optimally for an extended period.
Understanding how to repair a washing machine drum can save you time and money. By following the steps outlined in this guide, you can tackle common drum problems effectively. Remember, if you’re uncertain about the issue or lack the necessary skills, don’t hesitate to contact a professional repair service like AZ REPAIRING DUBAI. With their assistance, you can ensure your washing machine operates smoothly for years to come.


